
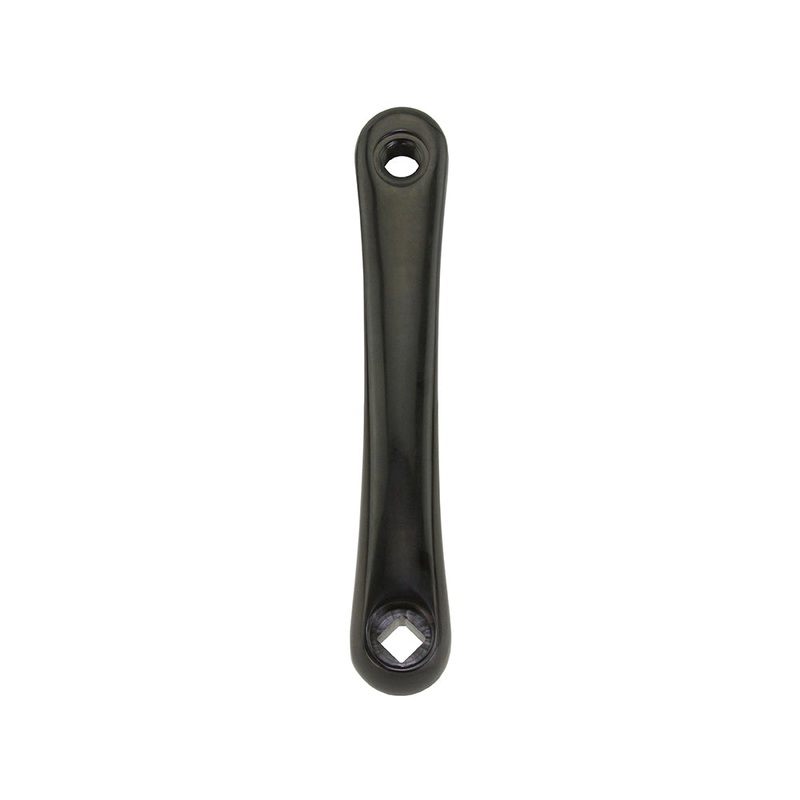
Black Ops Stomp Cro-Mo 3-Piece BMX Crank ArmsA rugged, high-performance component engineered for serious BMX enthusiasts and riders seeking unparalleled durability and precision.Crafted from premium-grade Chromoly steel, the Stomp Crank arms is built to wi
Flash Sale Ongoing
A rugged, high-performance component engineered for serious BMX enthusiasts and riders seeking unparalleled durability and precision.
Crafted from premium-grade Chromoly steel, the Stomp Crank arms is built to withstand the toughest riding conditions. Its robust construction ensures exceptional strength-to-weight ratio, making it an ideal choice for riders who demand reliability and longevity from their equipment.
Featuring a 3-piece design, the crank arms provide optimal power transfer and efficiency, allowing you to deliver maximum performance on the track or in the park. The precision-machined spindle and sprocket interface ensure a seamless and secure fit, enhancing overall stability and minimizing power loss during pedal strokes.
The Black Ops Stomp Crank arms boasts a sleek black finish that not only looks sharp but also adds a layer of corrosion resistance, ensuring your investment stands the test of time. The included bottom bracket ensures smooth rotation, complementing the crank arms performance-oriented design.
Whether you’re tackling jumps, grinding rails, or pushing the limits of your BMX skills, the Black Ops Stomp Cro-Mo 3-Piece BMX Crank arms is engineered to help you take your riding to the next level. Upgrade your setup with this top-tier component and experience the difference that quality craftsmanship can make.
Key Features:
Understanding Bicycle Cranks: Types, Sizes, and Materials
Bicycle cranks are a crucial component of a bike’s drivetrain, responsible for transferring the rider’s pedaling force to the chainring, which in turn propels the bicycle forward. In this article, we’ll explore the various types of bicycle cranks, different sizes available, and the materials they are constructed from.
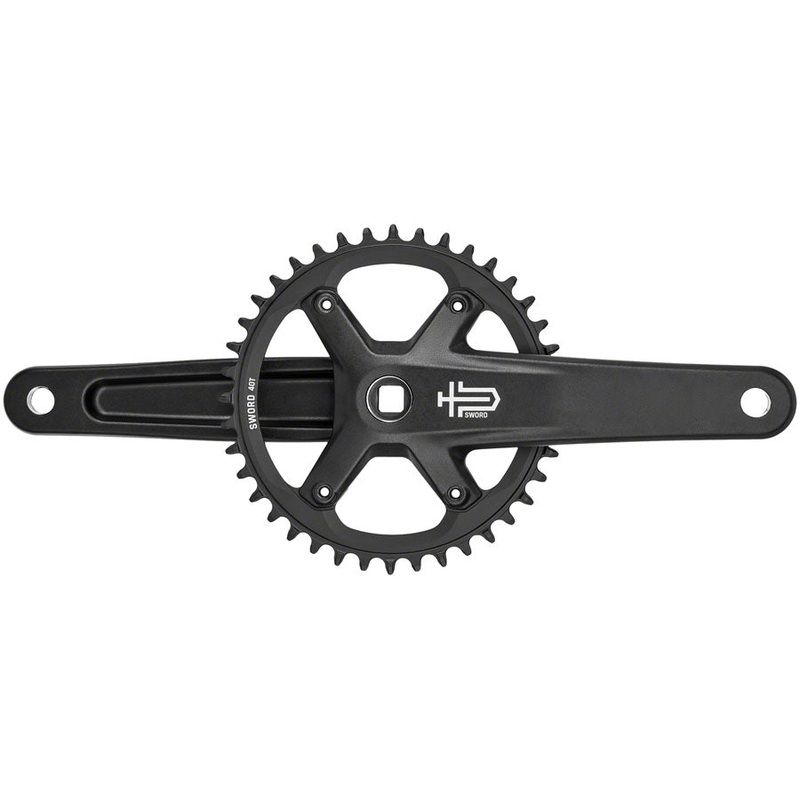
Square taper cranks are a traditional design, characterized by a square-shaped spindle that fits into the bottom bracket. They have been a standard for many years, known for their simplicity and durability. However, they are becoming less common with the rise of newer technologies.
Shimano introduced the Octalink system, which features eight splines on the crank arm that interface with a matching bottom bracket. Octalink cranks are known for their increased stiffness and power transfer compared to square taper cranks.
ISIS (International Splined Interface Standard) drive cranks use a splined interface between the crank arm and the bottom bracket spindle. This design was intended to improve stiffness and durability, but it has been largely replaced by newer standards.
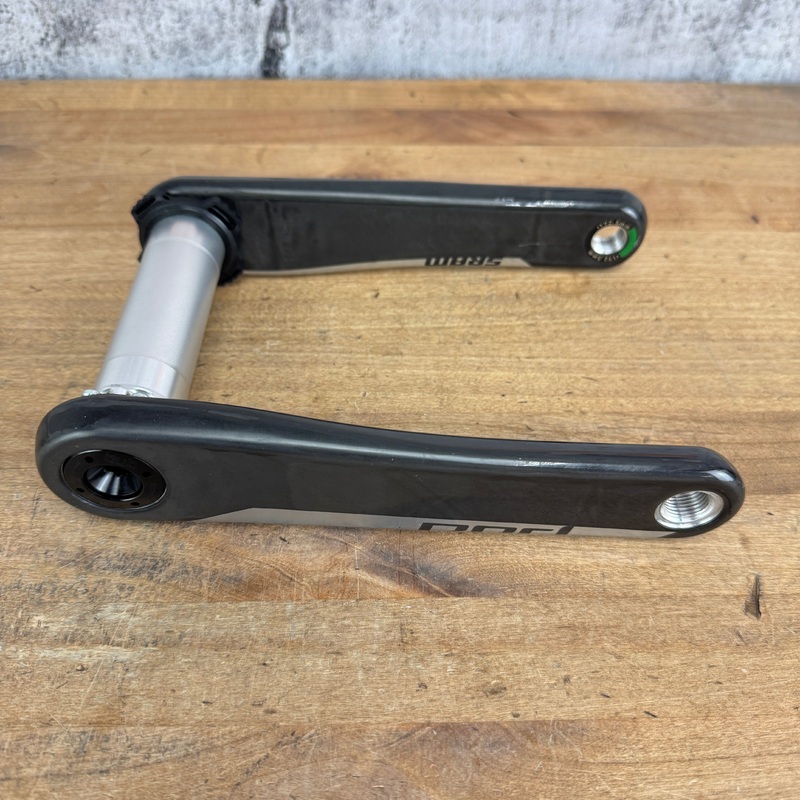
External bearing cranks, also known as Hollowtech II (by Shimano) or GXP (by SRAM), use outboard bearings that sit outside of the bottom bracket shell. This design provides increased stiffness and weight savings.
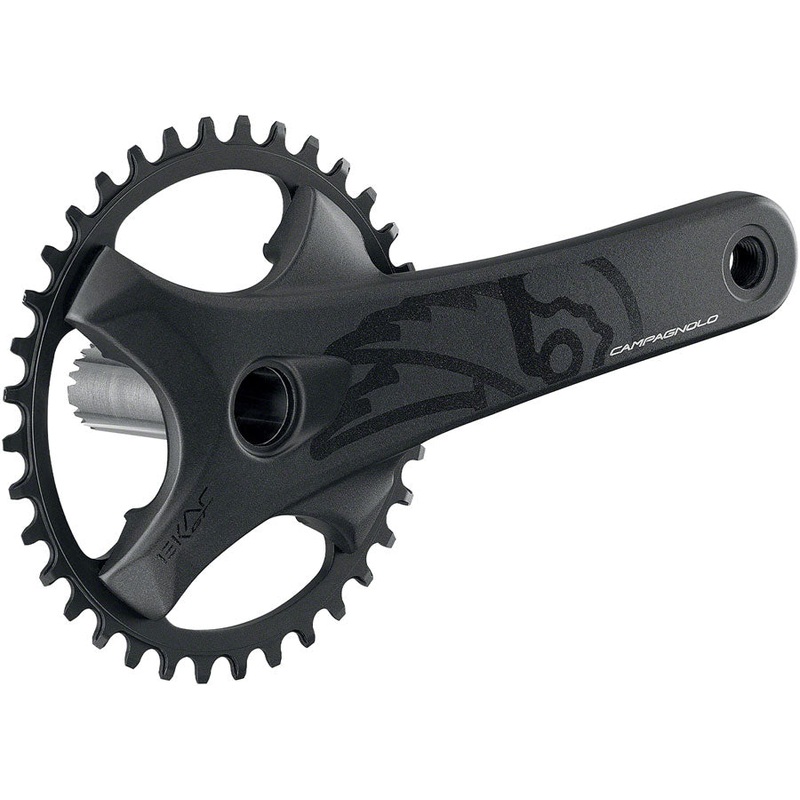
Direct mount cranks have become popular in recent years, especially in the mountain biking community. They attach directly to the spindle, eliminating the need for a separate chainring spider. This design allows for a wider range of chainring sizes and improved stiffness.
Crank arm length is measured from the center of the bottom bracket spindle to the center of the pedal spindle. Common lengths range from 165mm to 180mm. Shorter crank arms can provide a more aerodynamic position and are favored by some cyclists, while longer crank arms may offer more leverage for powerful pedaling.
The size of the chainring(s) on the crankset can significantly affect the bike’s gearing. Smaller chainrings provide easier pedaling but lower top speeds, while larger chainrings offer higher top speeds but require more effort to pedal.
Aluminum cranks are lightweight, relatively inexpensive, and offer good stiffness. They are popular in entry-level and mid-range bicycles.
Carbon fiber cranks are known for their exceptional strength-to-weight ratio. They offer excellent stiffness and can help reduce overall weight, making them popular among high-end and performance-oriented cyclists.
Steel cranks are durable and cost-effective but tend to be heavier than aluminum or carbon fiber options. They are commonly found on budget-friendly and commuter-oriented bikes.
Titanium cranks strike a balance between weight, strength, and durability. They are relatively lightweight and offer excellent corrosion resistance, making them a premium choice for some cyclists.
Choosing the right bicycle crank is essential for optimizing your riding experience. Consider factors like the type of riding you’ll be doing, your personal preferences, and your budget when selecting a crankset. Understanding the different types, sizes, and materials available will help you make an informed decision that suits your specific cycling needs.
“`Comprehensive Guide to Removing a Square Taper Bicycle Crank
Start by finding a clean, well-lit area to work. Lay down a rag or cloth to catch any dirt or small parts that may fall.
Ensure you have all the necessary tools listed above.
If you have a derailleur, shift the chain onto the smallest chainring to provide easier access to the crankset. If you have a single-speed or fixed-gear bike, you don’t need to worry about this step.
Use an Allen wrench or socket wrench to loosen and remove the bolts that hold the crank arms onto the bottom bracket spindle. There are usually two bolts, one on each side.
Insert the inner part of the crank puller tool into the bottom bracket spindle. Make sure it’s threaded securely. Then, thread the outer part of the tool into the crank arm threads. Tighten the outer part of the crank puller tool until the crank arm starts to come off the spindle.
Continue to turn the crank puller until the crank arm comes off the spindle. Be sure to support the crank arm with your hand as it comes free to avoid it falling and potentially damaging the ground or other components.
If you’re removing both crank arms, repeat steps 4-6 for the other side.
Take this opportunity to inspect the bottom bracket and crankset for any signs of wear or damage. Clean the spindle and bottom bracket shell if necessary.
If you’re replacing the crankset or performing maintenance, this is the time to install the new one. Apply a thin layer of grease to the square taper interface before attaching the new crank arms.
Ensure that all bolts and nuts are properly tightened to the manufacturer’s specifications. Over-tightening can cause damage, so use a torque wrench if available.
Spin the crankset to ensure there’s no wobbling or unusual resistance. Check that the chain moves smoothly across the chainrings.
Remember to always refer to your specific bike’s manufacturer recommendations and specifications, as there may be slight variations in the process depending on the make and model. If you’re unsure or uncomfortable with any step, consider seeking help from a professional bike mechanic.
Live 4 Bikes function showTab(index) { var tabs = document.querySelectorAll(‘.tab-content’); tabs.forEach(function(tab) { tab.classList.remove(‘active’); }); tabs[index].classList.add(‘active’); } function toggleMinimize(index) { var tabContent = document.getElementById(‘tab’ + (index + 1)); tabContent.classList.toggle(‘minimized’); }
Reviews
There are no reviews yet.